When you type a website address, your device first asks a DNS server where that site lives. Without protection, these lookups can often be read or changed on the network. This guide shows how to enable DNS over HTTPS on Windows 11 and how to use the closest equivalents on macOS, iPhone, and Android, so your DNS queries are encrypted more often and your everyday browsing is harder to track in public Wi‑Fi.
Introduction
Slow Wi‑Fi is annoying, but “quiet” privacy leaks are worse because you usually don’t notice them. DNS is one of those leaks: even if a website uses HTTPS, your device still has to ask a DNS resolver which IP address belongs to a domain. In many networks (cafes, hotels, schools, shared apartments), that request can reveal what you try to open.
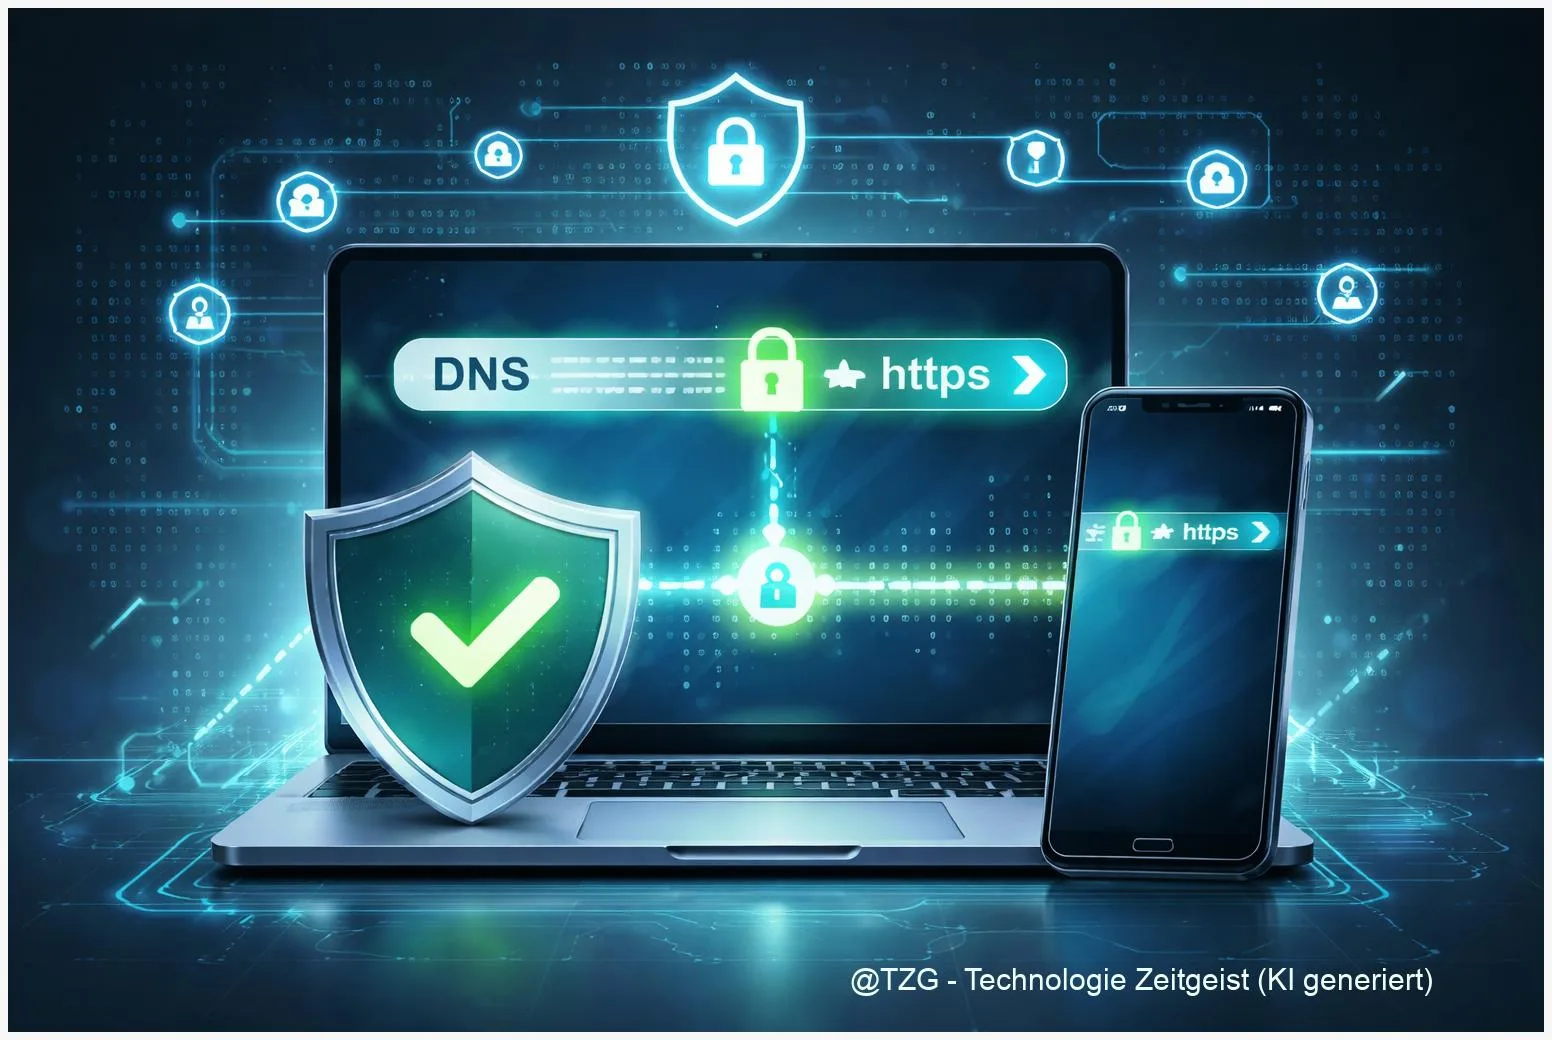
Secure DNS helps by encrypting those lookups between your device and the DNS provider. On Windows 11 you can switch on DNS over HTTPS directly in the system settings. On Android the system feature is called Private DNS (it uses DNS over TLS). On iPhone and macOS, encrypted DNS is typically enabled via installed configuration profiles provided by a trusted DNS service.
The steps below focus on a safe, reversible setup you can do in minutes, plus what to check if something stops working afterward.
Basics and Overview
DNS (Domain Name System) is the “address book” of the internet. It translates names like example.com into numeric IP addresses. Normally, many networks handle DNS in plain text, which makes it easier for others on the same network to see or interfere with those requests.
Encrypted DNS adds a secure layer:
- DoH (DNS over HTTPS) sends DNS queries inside normal HTTPS traffic (port 443), which often works well in restrictive networks.
- DoT (DNS over TLS) encrypts DNS using TLS (often port 853). Android’s Private DNS feature uses DoT.
Secure DNS does not make you anonymous, but it can prevent casual DNS snooping and some types of DNS manipulation on untrusted networks.
Important: Secure DNS only protects the DNS lookup path between your device and the chosen resolver. Your internet provider or network admin can still see which IPs you connect to, and websites still see your activity when you log in. For full tunnel privacy, you’d need a VPN; for most people, secure DNS is a solid “low friction” upgrade.
| Option or Variant | Description | Suitable for |
|---|---|---|
| Windows 11 DoH | System setting for DNS over HTTPS on a Wi‑Fi/Ethernet connection. | PC users who want a built-in switch without extra apps. |
| Android Private DNS (DoT) | System-wide encrypted DNS using a provider hostname. | Android phones/tablets, especially on public Wi‑Fi. |
| Apple profile-based encrypted DNS | DoH/DoT via installed configuration profile (\”.mobileconfig\”). | iPhone/iPad/Mac users comfortable installing a trusted profile. |
Preparation and Prerequisites
Before changing DNS, do two quick checks so you can always roll back safely.
- Know your environment: On work/school devices, policies (MDM/Group Policy) may block encrypted DNS or enforce a corporate resolver.
- Keep a fallback plan: If anything breaks, you can revert to “Automatic” DNS and everything should behave like before.
- Choose a reputable DNS provider: A secure DNS service can see your DNS queries, so trust matters. Prefer established providers with clear privacy policies.
Also helpful:
- Windows 11: You need admin rights to edit DNS settings on the connection.
- Android: Private DNS is available from Android 9 and later. Menu names can vary by manufacturer, but search for “Private DNS”.
- iPhone/macOS: Encrypted DNS is typically configured via a profile. Only install profiles from sources you trust, because profiles can change network behavior beyond DNS.
If you already use a VPN, note that many VPN apps override DNS settings. That’s not automatically bad, but it can make testing confusing.
Step-by-Step Instruction
The steps below are grouped by platform. After each change, open a few common websites and, if possible, try both Wi‑Fi and mobile data to confirm everything still resolves quickly.
-
Windows 11: turn on DNS over HTTPS for your connection
Open Settings > Network & internet. Choose Wi‑Fi (for wireless) or Ethernet, then select your active connection. Find DNS server assignment and choose Edit. Switch to Manual, enable IPv4 (and IPv6 if you use it), enter the DNS server addresses provided by your chosen DNS service, then set the DNS over HTTPS option to an enabled mode (Windows may label it as automatic or manual template depending on the server). Save your changes.
If you don’t see DoH options, Windows may only offer it for known resolvers, or your device may be managed by an organization.
-
Android: enable Private DNS (encrypted DNS over TLS)
Open Settings > Network & internet (or similar) > Private DNS. Pick one of these options:
- Automatic (recommended for most people): Android will try encrypted DNS when the network supports it.
- Private DNS provider hostname: enter the hostname your provider gives you (example from Google Public DNS documentation: dns.google), then save.
Tip: If you can’t find the menu, use the settings search for “Private DNS”.
-
iPhone (iOS): use an encrypted DNS profile (DoH/DoT)
iOS supports encrypted DNS via configuration profiles (a controlled settings package). A trusted DNS provider may offer a \”.mobileconfig\” profile. Download it with Safari, then open Settings and look for Profile Downloaded near the top. Tap it, review what it changes, then install. If prompted, enter your device passcode.
After installation, connect to a Wi‑Fi network and load a few sites. If you use a VPN, try testing with the VPN off and on to see which DNS path your setup actually uses.
-
macOS: encrypted DNS via profile, plus a safe manual fallback
On macOS, encrypted DNS is also typically done via configuration profiles (especially in managed environments). Install a trusted DNS profile (similar process to iOS, depending on macOS version: System Settings shows installed profiles in a dedicated Profiles section if present).
If you only want to change DNS servers (not encrypted), you can set classic DNS in System Settings > Network > your connection > Details > DNS, then add the resolver IP addresses. This improves choice of resolver but does not encrypt DNS by itself.
If everything is set correctly, websites should load normally. The most common sign of a problem is that pages fail to load while the network shows as connected.
Tips, Troubleshooting, and Variants
Secure DNS is usually “set and forget”, but these issues come up often.
1) No internet after enabling secure DNS
First, revert to your previous setting:
- Windows 11: Set DNS server assignment back to Automatic (DHCP), or switch DoH off and keep manual DNS.
- Android: Change Private DNS to Automatic or Off.
- iPhone/macOS: Remove the DNS profile (Settings/System Settings > Profiles) and reconnect to Wi‑Fi.
Some networks block encrypted DNS (especially DoT on port 853). In those places, DoH often works better than DoT because it uses the same port as normal HTTPS traffic.
2) Captive portals (hotel login pages) don’t show up
Captive portals can behave oddly with strict DNS settings. Temporarily disabling encrypted DNS, completing the login, and re-enabling it often fixes the issue.
3) “Managed by your organization” messages
If Windows or Apple devices are managed, settings may be locked by policy. In that case, the correct path is to ask the admin what DNS is allowed, not to force workarounds.
4) Picking a provider: privacy vs. filtering
Some providers offer malware blocking or family filtering variants. That can be helpful, but it also increases the chance of false positives (a site doesn’t resolve). If you need maximum compatibility, start with a standard, non-filtering resolver profile, then switch later.
If you want to go one step further on Windows, you can also check whether your browser has its own secure DNS setting. Be careful with “double configuration”: if Windows and the browser use different resolvers, troubleshooting becomes harder.
Conclusion
Secure DNS is one of the simplest privacy upgrades you can make across devices. On Windows 11, DNS over HTTPS can be enabled directly in the network settings. Android offers encrypted DNS through Private DNS (DNS over TLS), and on iPhone and macOS encrypted DNS is usually set up with a trusted configuration profile. If a network blocks encrypted DNS, switching to a more compatible mode (or temporarily disabling it for captive portals) is often all it takes. Once it works, you typically won’t have to touch it again.
Have you enabled secure DNS on all your devices, or did one platform give you trouble? Share what worked (and what didn’t) so others can compare setups.


Leave a Reply